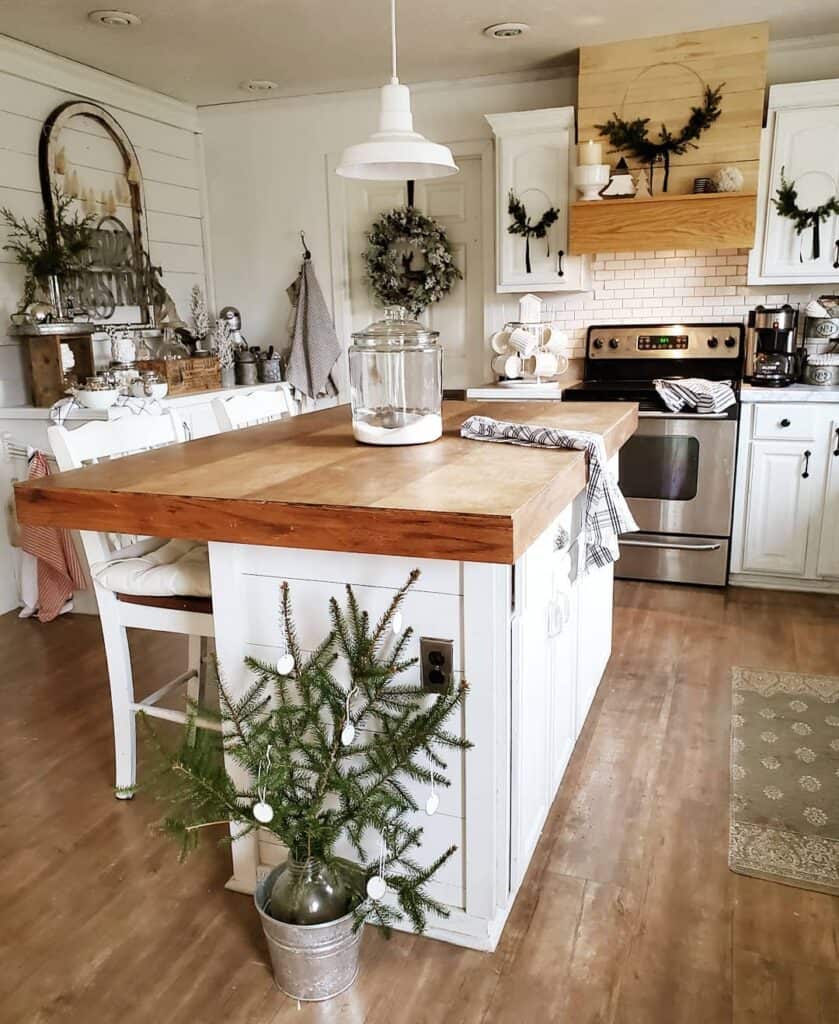
If you’re dreaming of a kitchen that feels both warm and stylish, a shiplap kitchen island might be the perfect centerpiece. Shiplap—those classic wooden boards with overlapping joints—brings texture, character, and a cozy farmhouse vibe to any space. But it’s not just for rustic homes; modern, coastal, and even industrial kitchens can rock this look. In this article, we’ve rounded up 15 inspiring shiplap kitchen island ideas to help you create a space you’ll love. From painted finishes to mixed materials, these designs prove that shiplap is versatile, timeless, and oh-so-charming.
Why Choose Shiplap for a Kitchen Island?
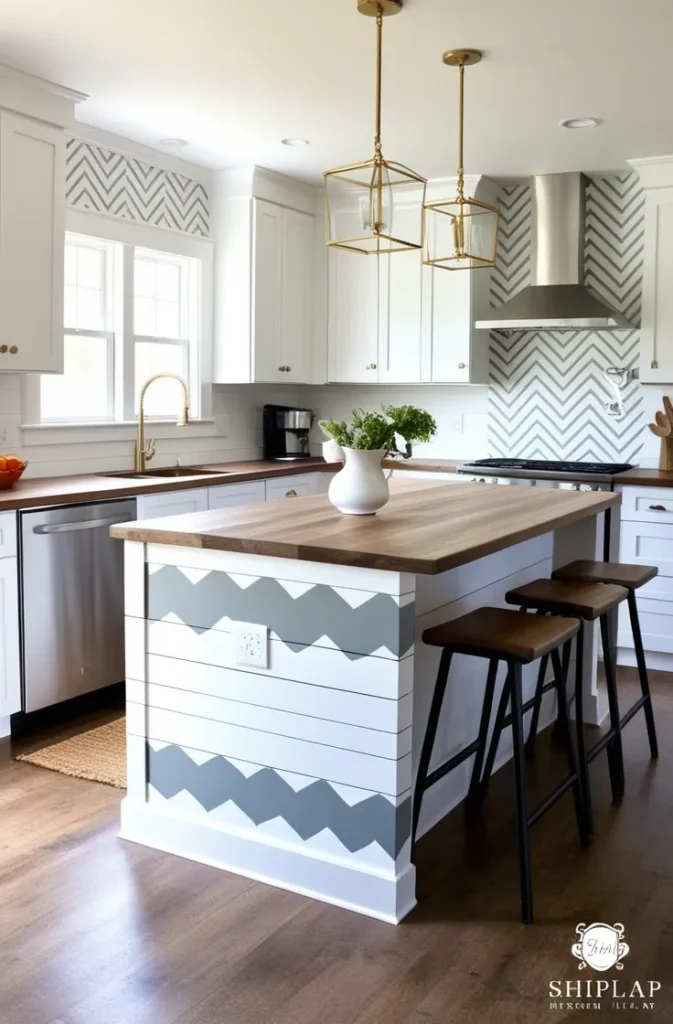
Shiplap isn’t just a trend—it’s a practical and aesthetic choice. Its horizontal lines add visual interest without overwhelming the room. Shiplap is durable, easy to clean, and can be painted any color to match your palette. It also hides imperfections well, making it a forgiving material for busy kitchens. Plus, it brings a sense of warmth and craftmanship that flat drywall can’t match. Whether you want a pristine white island or a bold dark statement, shiplap adapts beautifully.
Classic White Shiplap Island Designs
White shiplap is the go-to for a bright, airy kitchen. It reflects light and makes the island feel clean and spacious. For a traditional farmhouse look, pair white shiplap with a butcher block countertop and apron-front sink. You can also add beadboard details or a ship lap backsplash on the island’s side for extra texture. To keep it from feeling sterile, incorporate warm wood accents—like bar stools or open shelving—and avoid overly glossy paint. A soft matte or eggshell finish works best.
Dark and Dramatic Shiplap Island Ideas
Don’t shy away from dark colors. Navy, charcoal, or black shiplap islands create a striking focal point. They anchor the kitchen and add depth, especially in larger spaces. Pair a dark shiplap island with light countertops like marble or white quartz to balance the contrast. For a modern twist, use wide shiplap boards and minimal hardware. Dark shiplap also hides scuffs and stains better than white, making it practical for families. Just ensure the kitchen has ample natural light or layered lighting to avoid a cave-like feel.
Shiplap Island with Open Shelving
Combine shiplap with open shelving on the island’s ends for extra storage and style. Build cubbies or shelves into the shiplap structure to display cookbooks, plants, or colorful dishes. This trick works especially well on larger islands, breaking up the mass and adding functionality. The shelving can be lined with shiplap too, or left as natural wood for contrast. It’s a great way to personalize your island and make it uniquely yours.
Two-Tone Shiplap Kitchen Island
Two-tone islands are a huge trend, and shiplap makes it easy. Paint the base a different color than the shiplap paneling. For instance, a navy base with white shiplap on the front and sides. Or keep the base neutral and paint only the shiplap a bold hue. This adds dimension and lets you incorporate multiple colors without overwhelming the space. Two-tone also helps define the island as a separate piece of furniture, especially when the shiplap section has a different texture.
Shiplap Island with Contrasting Countertops
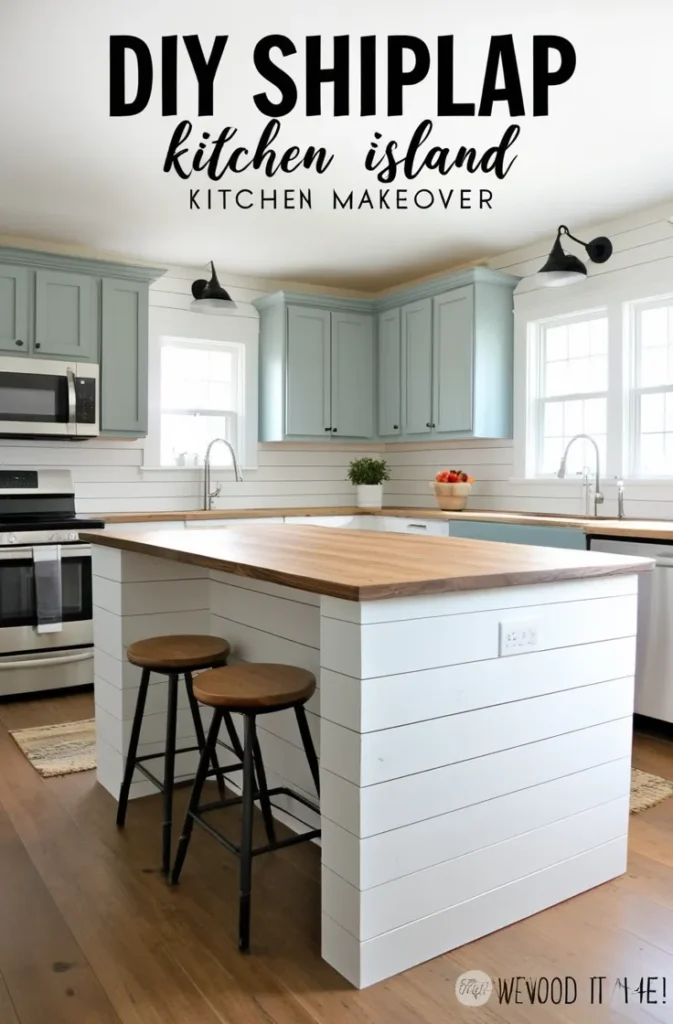
The countertop is where shiplap can really shine. A shiplap-clad island topped with a contrasting material like granite, quartz, or concrete creates a beautiful juxtaposition of rustic and refined. For example, a weathered gray shiplap island with a glossy white marble top feels both farmhouse and elegant. Or paired with a dark soapstone slab for an industrial edge. The key is to let the countertop be the star while the shiplap supports it.
DIY Shiplap Island Installation Tips
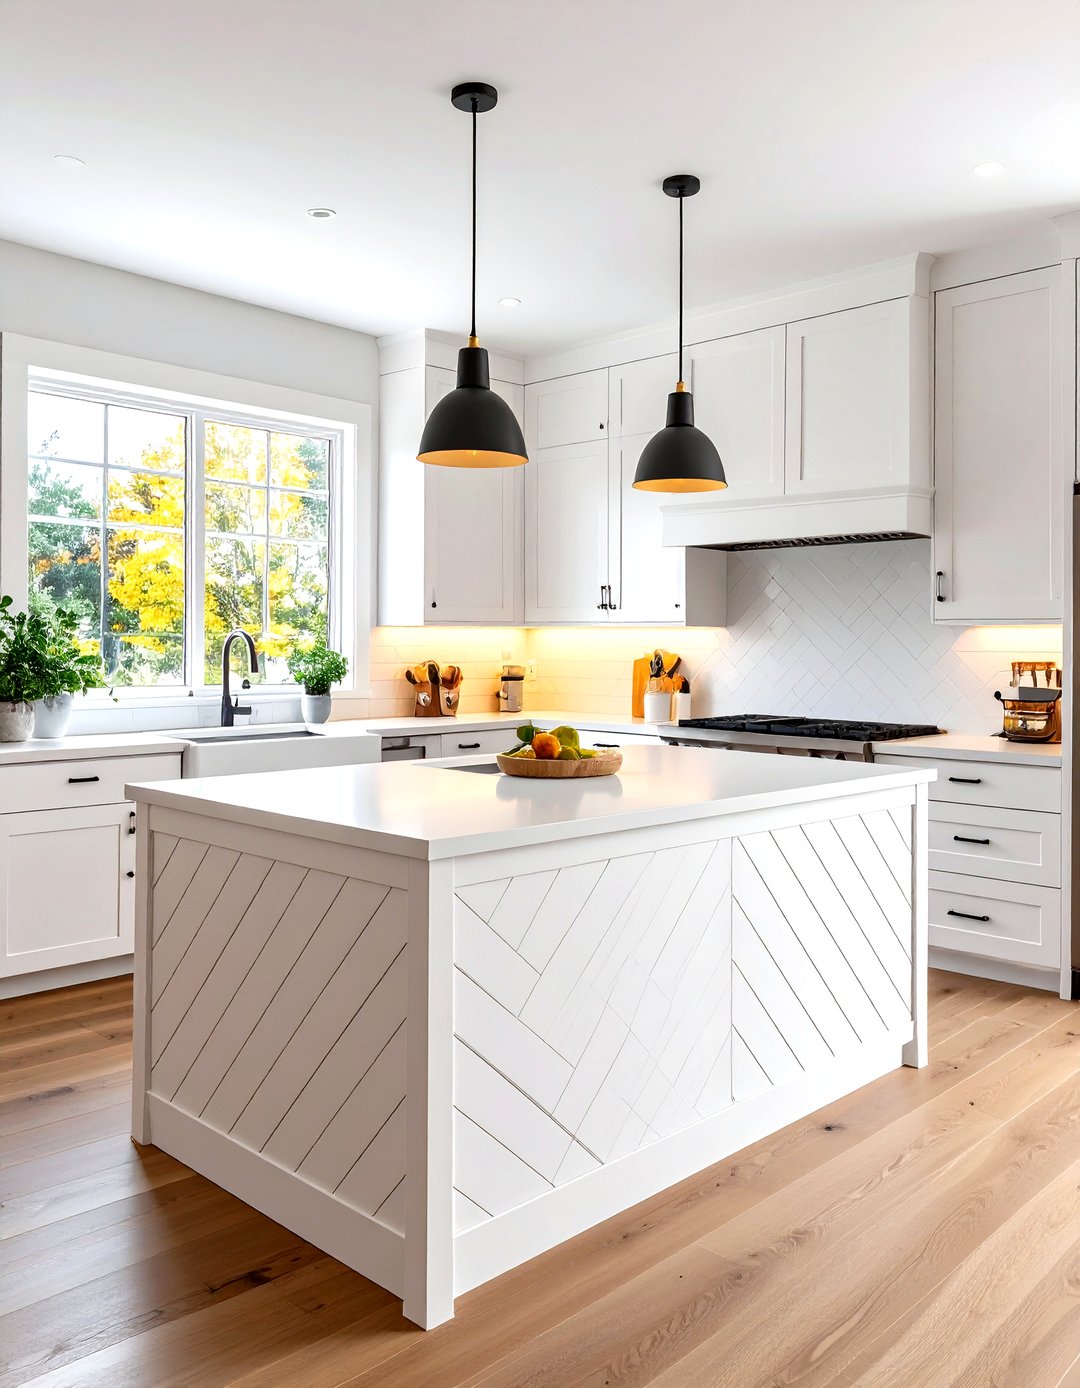
Thinking of adding shiplap to your existing island? It’s a doable DIY project. First, measure the island’s sides and cut shiplap boards to size. Use a level and construction adhesive to attach them directly to the island’s surface, then nail with a finish nailer. For a seamless look, leave a small gap between boards (or use tongue-and-groove shiplap). Prime and paint after installation. Remember to caulk corners and edges for a professional finish. If your island has rounded corners, you may need to cope the boards—or opt for schluter trim.
Frequently Asked Questions
What is the best paint for a shiplap kitchen island?
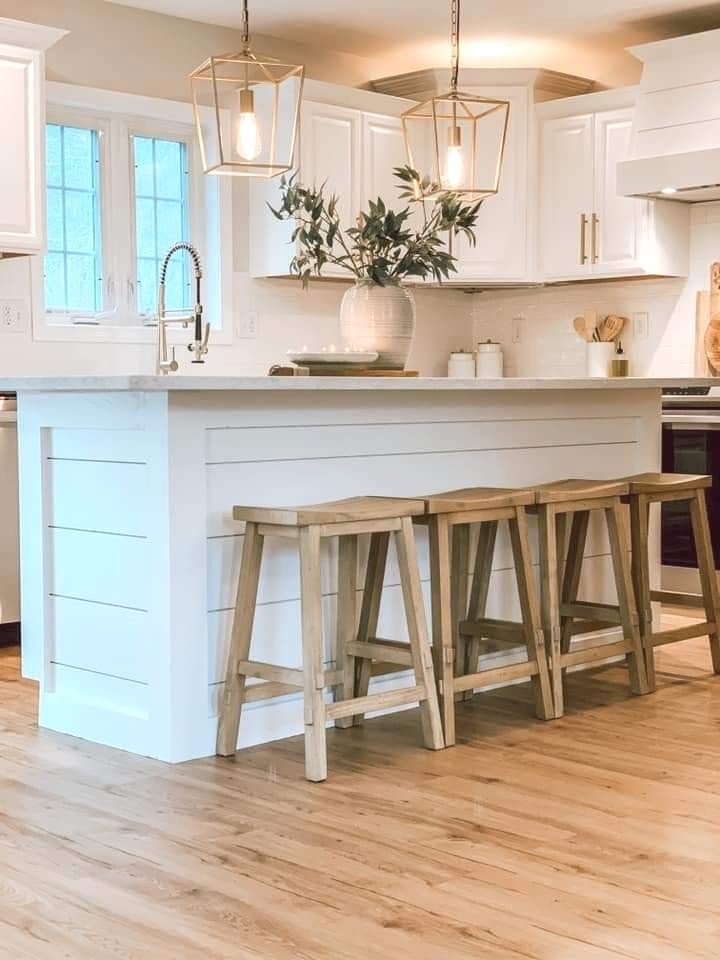
For high-traffic areas, choose a durable paint with a satin or semi-gloss finish. Brands like Sherwin-Williams Emerald or Benjamin Moore Advance are popular for their durability and smooth application. For a matte look, use a washable flat enamel. Always prime the shiplap first to prevent knots from bleeding through.
Can you put shiplap on an existing kitchen island?
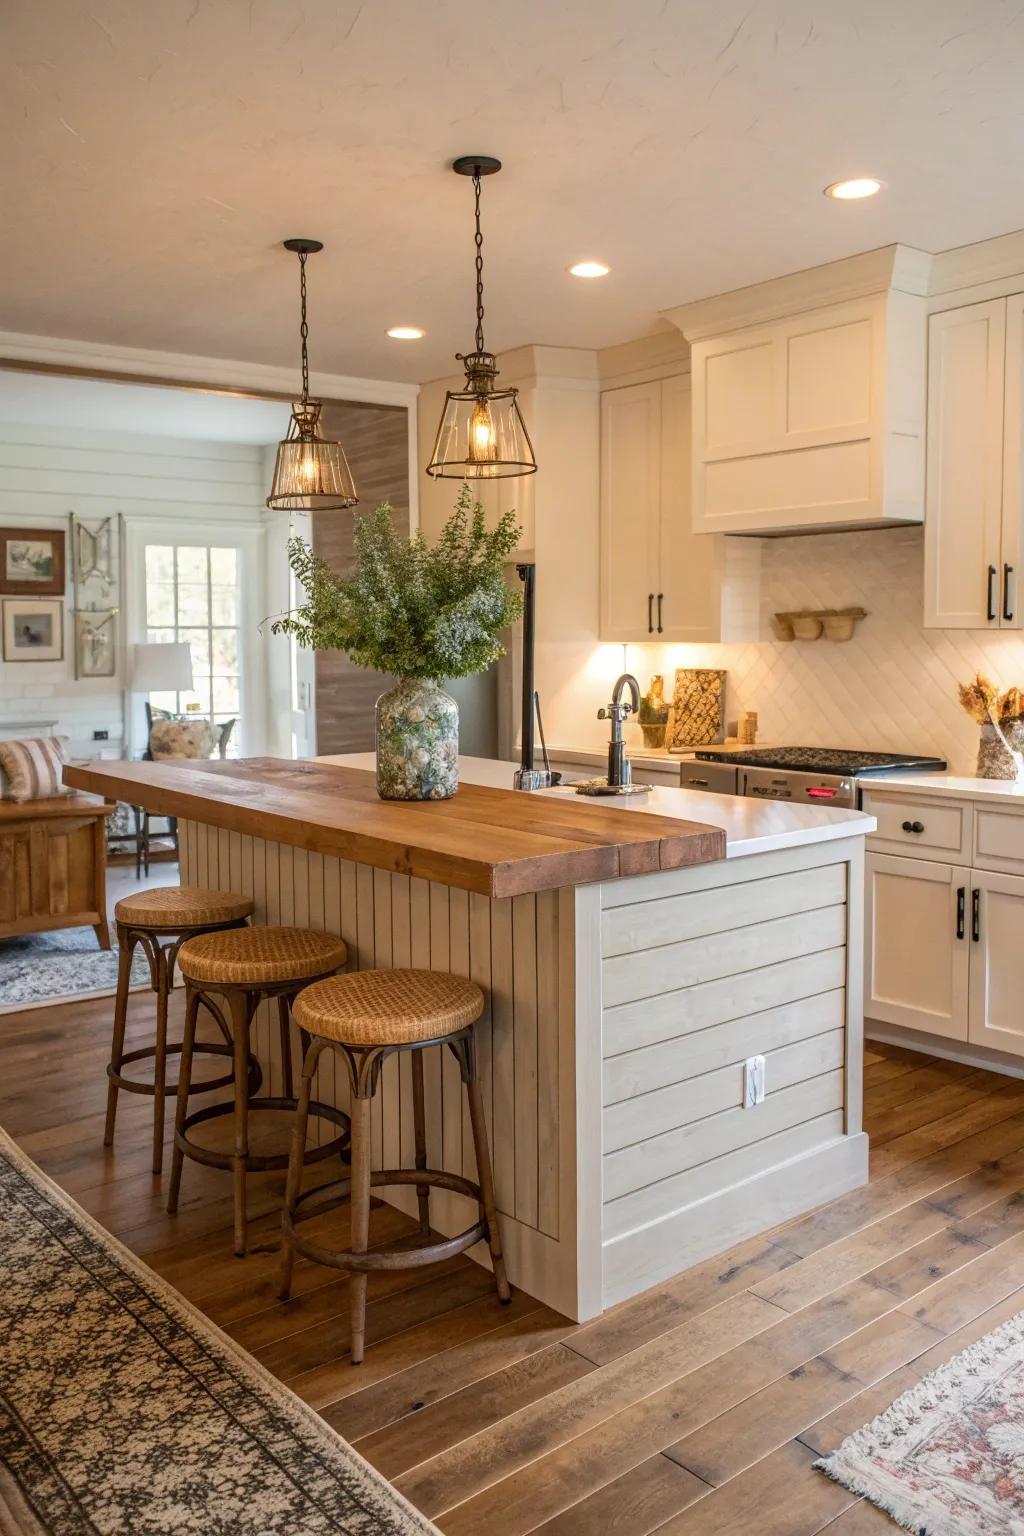
Absolutely! You can attach shiplap boards directly to the existing surface using adhesive and nails. Just make sure the surface is clean, smooth, and properly prepared. If the island has a toe kick, you may need to remove it or work around it. For best results, remove cabinet doors and hardware first.
Does shiplap make a kitchen look smaller?
Not necessarily. Light-colored shiplap can actually make a space feel larger by adding texture that draws the eye. Dark shiplap might shrink a small kitchen, but it can work well in an island as a contrasting element. In general, use shiplap strategically to avoid overwhelming a tiny room.
Whether you’re renovating your entire kitchen or simply updating an island, shiplap offers endless possibilities. From classic white to dramatic dark, and from open shelving to two-tone designs, these shiplap kitchen island ideas prove that a little texture can go a long way. Start with a vision, choose your materials wisely, and let your island become the heart of your home.